

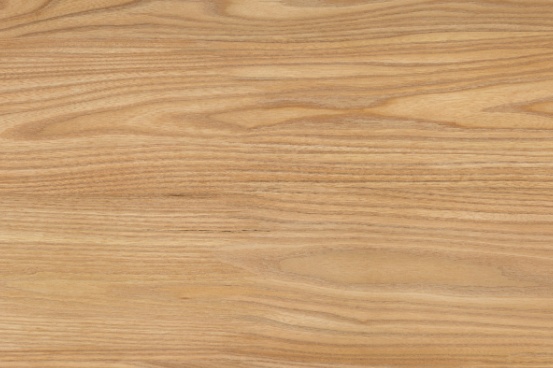
Simple Tips to Restore Your Aged Oak Flooring
03/20/2025
Many homeowners consider oak flooring to be a timeless treasure because of its charm, character, and warmth. However, even the most durable oak floors are bound to deteriorate over time. Some common signs of wear you may observe in your aged oak floorings include discoloration, scratches, dullness, etc. When you notice any of these signs, instead of replacing them, it is a great idea to restore these beautiful wooden floors.
Discussed below are some essential steps that you must follow for the restoration of aged oak flooring.
Assessment of the Floor: Before you start restoring your floor, take time to evaluate its condition by checking for common issues such as discoloration, water stains, scratches, scuff marks, cupping, warping, gaps between boards, loose or damaged planks, and faded or dull finish.
By assessing the extent of damage, you will be able to determine whether you need an extensive restoration or just a light refinish. You may also need to replace individual boards, in case your floor is structurally compromised.
Floor Cleaning: Floors often look dull due to the accumulation of grime, dirt, and dust on its surface over time. The first step of your restoration process is deep cleaning of the floor following the steps mentioned below.
- Remove loose debris from the floor by vacuuming or sweeping.
- Remove stubborn dirt particles using a damp microfiber mop with an appropriate cleaner.
- Please remember that oak flooring can be damaged by moisture, and hence, avoid excessive use of water.
If you floor has tougher stains, use a 1:1 mixture of warm water and vinegar with a few drops of a dish soap. Use a soft cloth to apply this solution and ensure that the surface gets dry immediately. Avoid using harsh chemicals for oak floorings with oil or oak-based finishes.
Remove Old Finish by Sanding: This is one of the most important steps in restoration of your aged oak flooring that removes the damaged top layer. Here is a simple step-by-step guide for sanding your floor.
- Sand the large areas using a drum sander and the tight spaces and corners using an edge sander.
- Remove the deeper scratches and old finish using coarse grit sandpaper and then smooth out the surface using fine-grit and medium-grit.
- Sanding should always be done in the direction of wood grains.
- After sanding, remove all dust by thoroughly vacuuming and wiping.
Damage Repair: After sanding, check your floor surface thoroughly for imperfections. Use matching wood filler for filling nail holes, gaps, or small cracks.
- Use a putty knife to apply the filler and smooth it out evenly.
- After the area dries completely, sand it lightly so that it blends with the surrounding area.
- If there are larger gaps between your floorboards, prevent the problem of expansion and contraction using a wood sliver or rope caulking.
- Individual boards that are damaged beyond repair should be replaced.
Select and Apply the Right Finish: Proper finishing not only improves the natural beauty of wood, but also protects it from damage. Some popular finish options include polyurethane, hard wax oil, stains, and natural oils. Your selection of finish should be based on your desired level of maintenance and aesthetics.
After choosing the finish, apply it following these simple steps.
- The floor should be completely dry and clean before starting.
- Apply the finish evenly using a high-quality applicator or brush.
- Always follow the wood grains and work in small sections.
- Apply the second or third coat only after the first coat has dried completely.
- To ensure a smooth finish, sand lightly between coats.
- Allow the floor to cure fully after the application of the final coat.
If you have any other questions about maintaining your oak flooring, please contact us at Enoak.